Drawing musical keyboards
- Published
- Last updated
- Revisions
Musical keyboard is an integral part of instruments like piano, but they're also commonly found in user interfaces of music software. Drawing these keyboards programmatically may seem simple but there are at least four popular ways of doing it. Let's start with the first way:

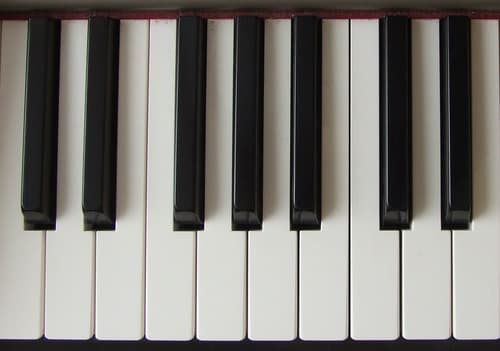
This looks like a typical keyboard, right? Let's take a closer look at a piano keyboard:
We can clearly see that the black keys are not centered between the white keys like in our drawing. This is because the internal mechanisms connected the keys (e.g. hammers and strings in piano) are placed at regular intervals. To illustrate this, let's add strings to our drawing:

We can see larger gap between the adjacent white keys. Let's fix this by spacing the strings evenly and aligning the black keys on the strings while keeping the white keys as before. This results in the second and more physically accurate way:

This looks nice but it may not work in every situation. In particular, it looks irregular when used in a piano roll:

What if we align the white keys to the grid? This third way can be thought as a combination of the first two ways: the white keys are aligned between the black keys like in the first way but the black keys are placed regularly like in the second way. To accomplish this, the white keys must have variable width:

The fourth and final way is simply drawing all keys with equal size:

In conclusion, there really isn't a correct way of drawing a musical keyboard. The four ways described here all have their strengths and weaknesses. You should pick the one you like the most or which best fits your use case.